My job as a Property Photographer is to make your million dollar house look, well….a million dollars.So what is it that I do that makes my images of your property look better than those taken by an average man with the same average camera?
5 things that make a Property Photographer.
1. Use a tripod.
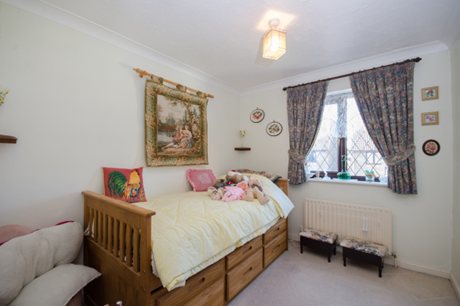
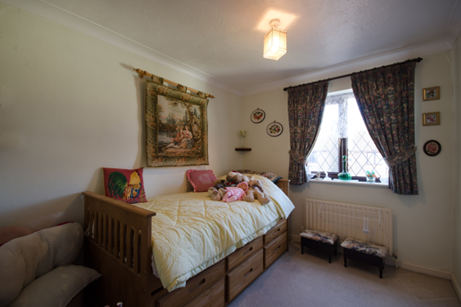
Some Property Photographers do and some don’t, I’m definitely a doer. Using a heavy tripod might be a little cumbersome at times to move around with when your photographing many rooms of a property, so why use one? First of all it allows me to use exposure settings that are just not possible when shooting hand-held. Images will be pin-sharp and you can keep a good depth of field without compromising on your other exposure settings. I also like to take the majority of the room shots from the same height for viewing consistency, and using a remote shutter release you are free to move around to pop a flash in an alcove or keep yourself way out of reflective views.
2. Add some fill-in flash.
I generally use natural light from the window to light a room and the house lights to add a little orange warmth to the scene. Even with a mixture of these two light sources it’s often not enough to light a large room suitably without extending the exposure time and, more than likely blowing out the windows. A little pop of bounced flash will fill up those dark corners and balance blown out windows which can then be pulled back with a tweak in software. Not too much flash mind as it could cast some unnatural shadows.
3. Wide angle lenses
It has been said by opticians that the human field of view is equivalent to a 50mm lens on an SLR camera, which doesn’t allow for all the blurry stuff in our peripheral view. But when we look into a room for example, our eyes dart around forming many pictures which our brain then puts together to give us an image of the whole said room. By using a wide-angled lens we can create that view in a single image which can then be used on a property web page or brochure. ‘Isn’t that also cheating, making rooms look bigger than they really are?’, I hear you say. In reality it isn’t because if you look at the edges of a wide angled shot objects tend to get a little stretched and elongated, I use it to show the whole layout of a room and believe be a small room will still look small in any photo.


4. Correcting horizontals and verticals.
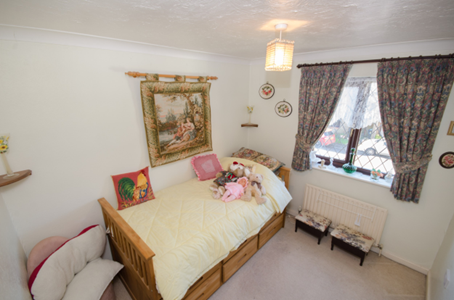
Look up and cupboards will lean together at the top of the image, look down, they will seperate. Another form of distortion, which when corrected will make a huge difference to an image. Any slanted horizontals will make that apple on the table look like it’s going to roll off at any minute. A wonky house might be sliding it’s way down the street, so watch out for these too. So how do I deal with this? Well back to the tripod. A little adjustment of the tripod head and spirit level and a check of the LCD display should do the trick.
5. Hiding clutter
I get it, 90% of the houses I photograph are still being lived in so what about all your stuff? Well that’s not a great problem. People want to see how potentially the house can be lived in ( or completely empty to show it’s condition) so wardrobes, beds, tables etc are perfectly fine where they are. Apart from that a bit of a tidy up doesn’t hurt and to be honest it’s a good time to start boxing a few things up. Maybe a vase of flowers would be nice but, I’ll do the rest! Those little items that you forgot can be hidden by the side of the bed temporarily and those boxes placed behind the camera where nobody will see them. If I had a pound for how many people said that I made their house look tidy-I’d be a rich man.